

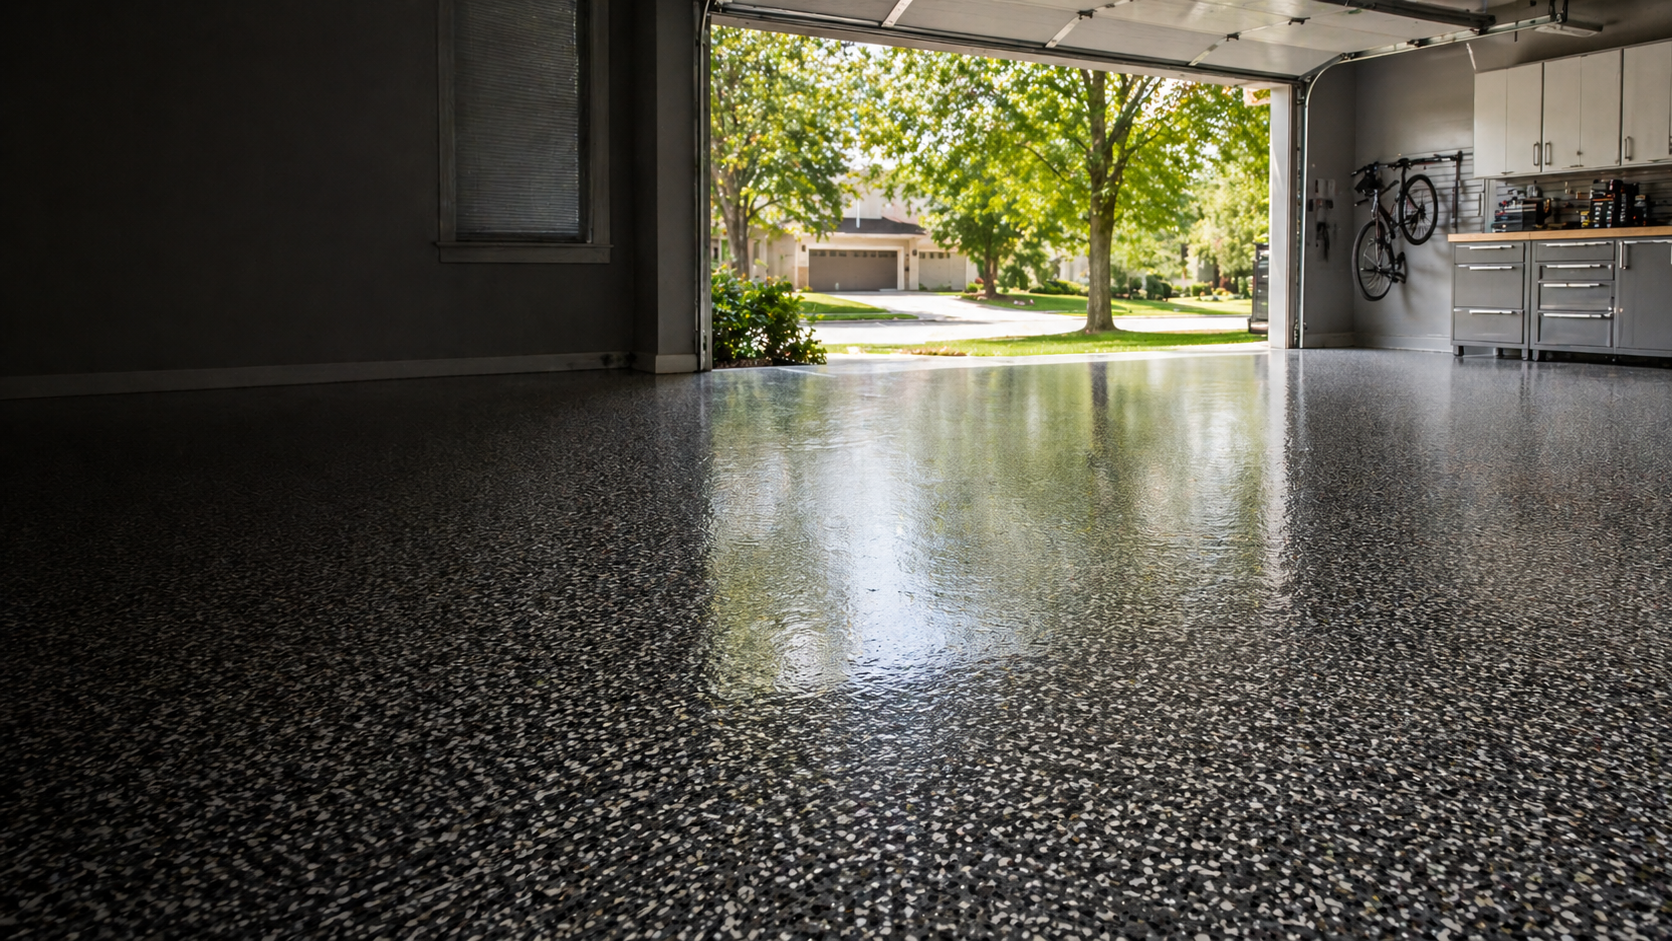
Garage Floor Coatings
in Kansas City
Garage floor coatings for vehicle traffic, tracked-in road salt, and everyday use. We inspect the concrete, prepare the surface, and recommend an epoxy or polyurea/polyaspartic system suited to your garage.
Choose the coating system, not just the label
“Epoxy garage floor” often describes several different coating systems. What matters is the complete installation: concrete preparation, repairs, basecoat, decorative flake, and topcoat.
Our recommended garage system uses a polyurea basecoat, a full decorative chip broadcast, and a UV-stable polyaspartic topcoat. Epoxy is also available when it suits the project.
We explain the proposed system, maintenance requirements, and applicable warranty before you choose.
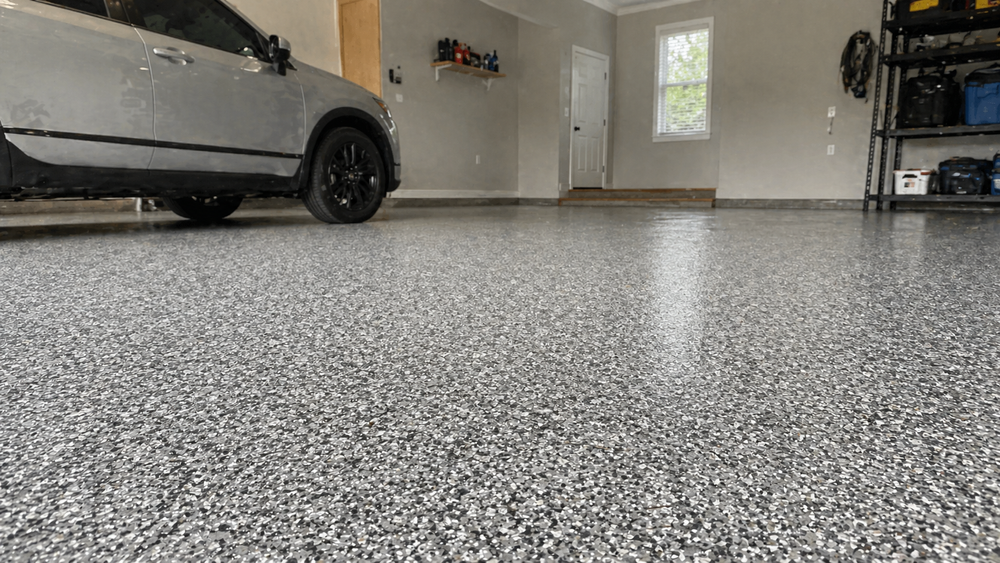
Hot tires, oil, and road salt
These are reasons to choose a system rated for garage use. Performance depends on the products, preparation, application, and adequate cure time, not simply whether it is called epoxy.
Clean spills promptly. A resistant coating is not immune to tire marks, scratches, chemical exposure, or dragging equipment.
Concrete condition comes first
We assess cracks, surface damage, existing coatings, contamination, and moisture conditions before recommending the installation.
Surface repairs do not correct structural movement, drainage problems, or active water intrusion.
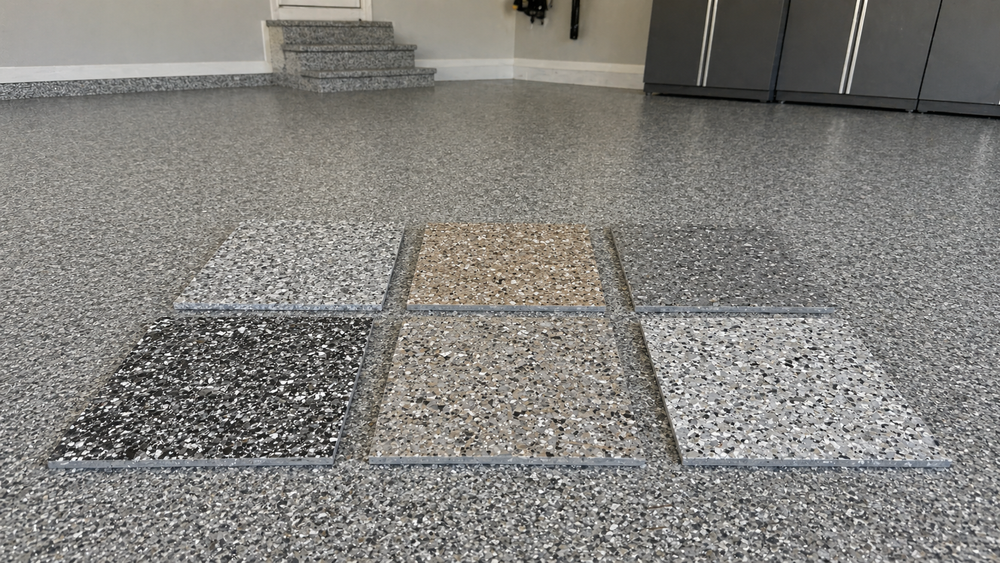
Compare color and texture
Compare flake samples with your garage lighting, walls, and storage. Gray, tan, and charcoal blends create different looks and show dirt differently.
Discuss traction and cleaning before choosing the finish, particularly where rain or snow is tracked inside. No floor should be treated as slip-proof when wet.
Our six-step garage coating process
This is the installation sequence for our recommended polyurea/polyaspartic chip system. Concrete condition and moisture findings determine whether additional preparation or treatment is needed.
-
Step 1
Diamond grinding
We mechanically prepare the concrete with diamond grinding equipment to create the surface profile needed by the coating. Existing coatings, weak surface material, and contamination may require additional removal or preparation.
-
Step 2
Moisture testing
We evaluate slab moisture against the requirements of the proposed system before coating. Findings may call for a compatible moisture-mitigation primer, further investigation, or addressing the moisture source before proceeding.
-
Step 3
Crack repair
We prepare and repair cracks and damaged areas included in the scope. Moving cracks and expansion joints require their own treatment; a surface repair does not stop structural movement in the slab.
-
Step 4
Polyurea basecoat
The polyurea basecoat is applied to the prepared concrete at the specified coverage. Application conditions and timing follow the product requirements.
-
Step 5
Decorative flake broadcast
Your selected decorative chip blend is broadcast into the wet basecoat for full coverage. After the basecoat reaches the required stage, loose chip is removed and the surface is prepared for the topcoat.
-
Step 6
Polyaspartic topcoat
A UV-stable polyaspartic topcoat seals the chip layer and provides the finished wear surface. We then explain when the floor can handle foot traffic, storage, and vehicles, along with cleaning and care requirements.
What affects garage coating pricing?
Garage size is only part of the estimate. Existing paint, failed coatings, surface damage, crack repairs, and moisture treatment can change the preparation required.
Steps, vertical edges, and other areas outside the main floor also affect scope. We identify the included surfaces and work so you can compare complete installations.
What your estimate should explain
- The area being coated, including steps or vertical edges.
- Existing coating removal and concrete repairs.
- Any required moisture treatment.
- The basecoat, flake coverage, and topcoat.
- The finish texture and return-to-use schedule.
- The written warranty terms and exclusions.
When can I park in the garage again?
Walking, moving storage back, parking vehicles, and full cure can have different waiting periods. Timing depends on the installed products and site conditions. We provide instructions for your system rather than a blanket same-day promise.
Can you coat over an old painted or peeling floor?
The existing surface needs evaluation. Loose or incompatible material may need removal. Send a photo of the old coating so we can discuss the likely preparation before the visit.

Garage floor coating reviews
A cleaner, more finished garage floor
Our recommended garage system uses a polyurea basecoat, full decorative chip broadcast, and a UV-stable polyaspartic topcoat over mechanically prepared concrete.
“Kevin from Fortress just finished my garage floor and it looks amazing. So professional and very clean. Going to have him do another floor for me as well.”
“They were fast, professional, communicative, and a very good price. I chose them over three other companies because Kevin made me feel very comfortable and I knew they would do a great job.”
A garage floor, from prep to finish
See the change in this Lee’s Summit garage, followed by finished details from two more of our projects.
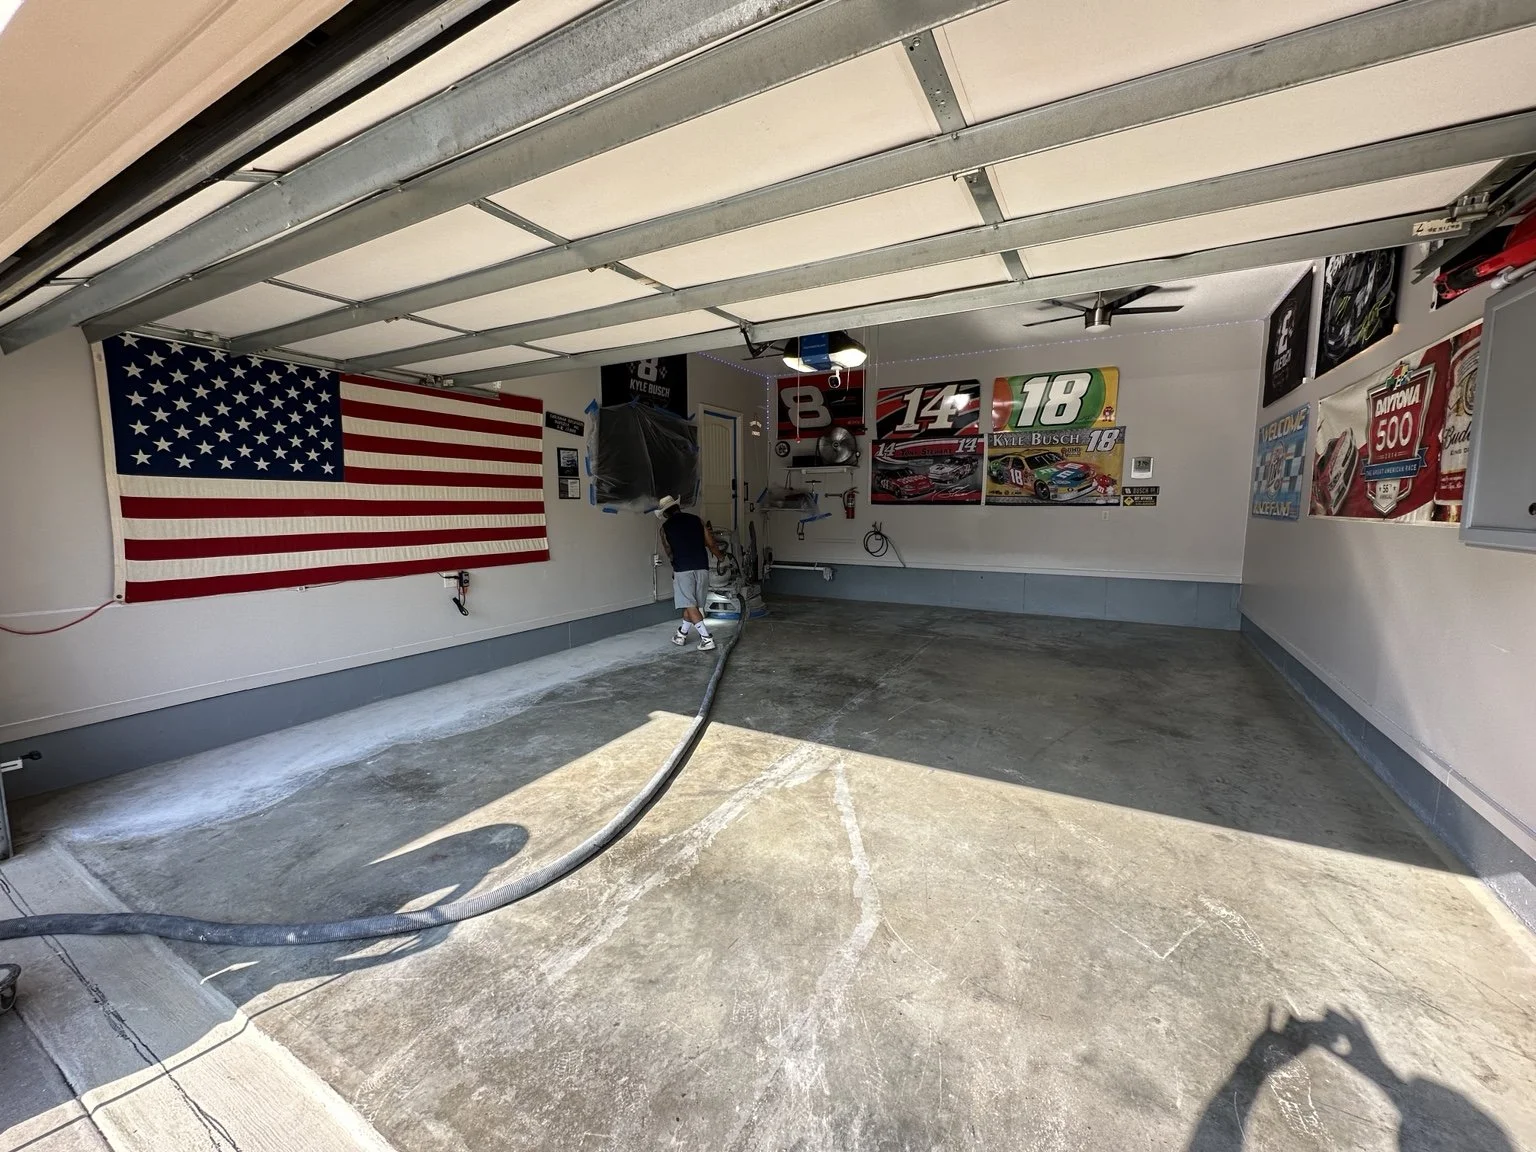
Lee’s Summit, MO
Preparation underway
Grinding the existing concrete before the coating goes down.
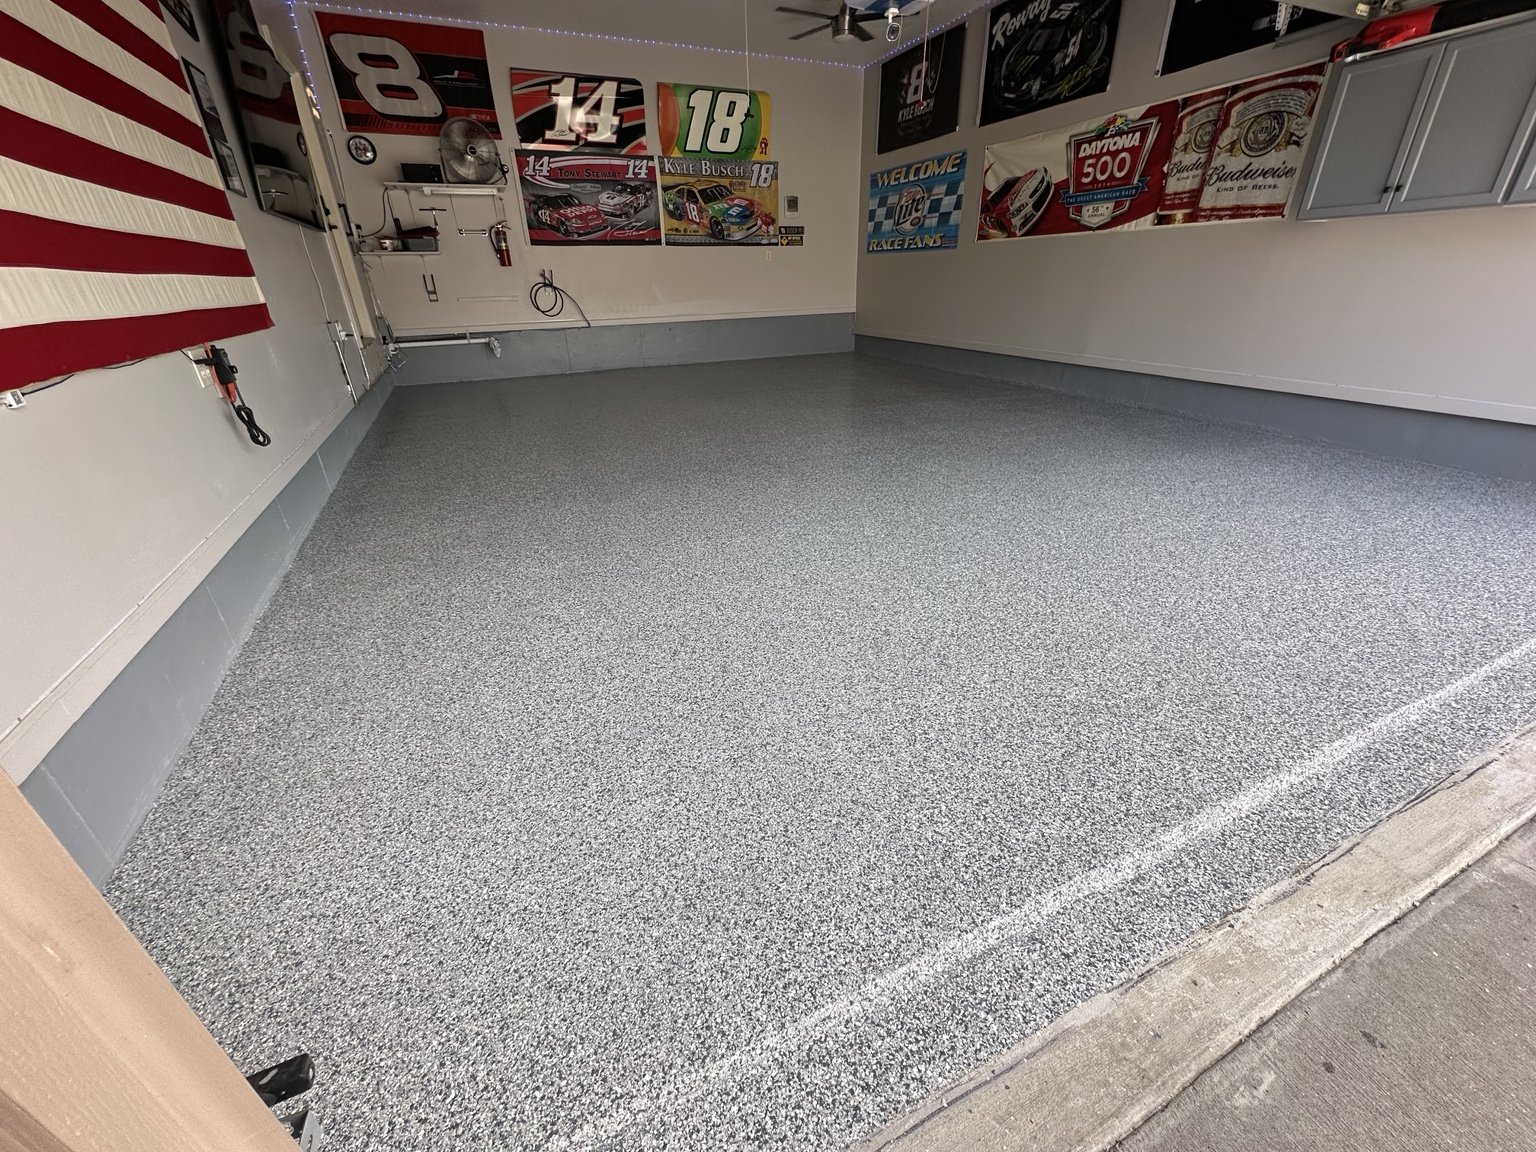
Lee’s Summit, MO
Finished floor
The decorative-chip finish gives this garage a new look.
A look at two more garages
Finished floors in Liberty and Leawood.
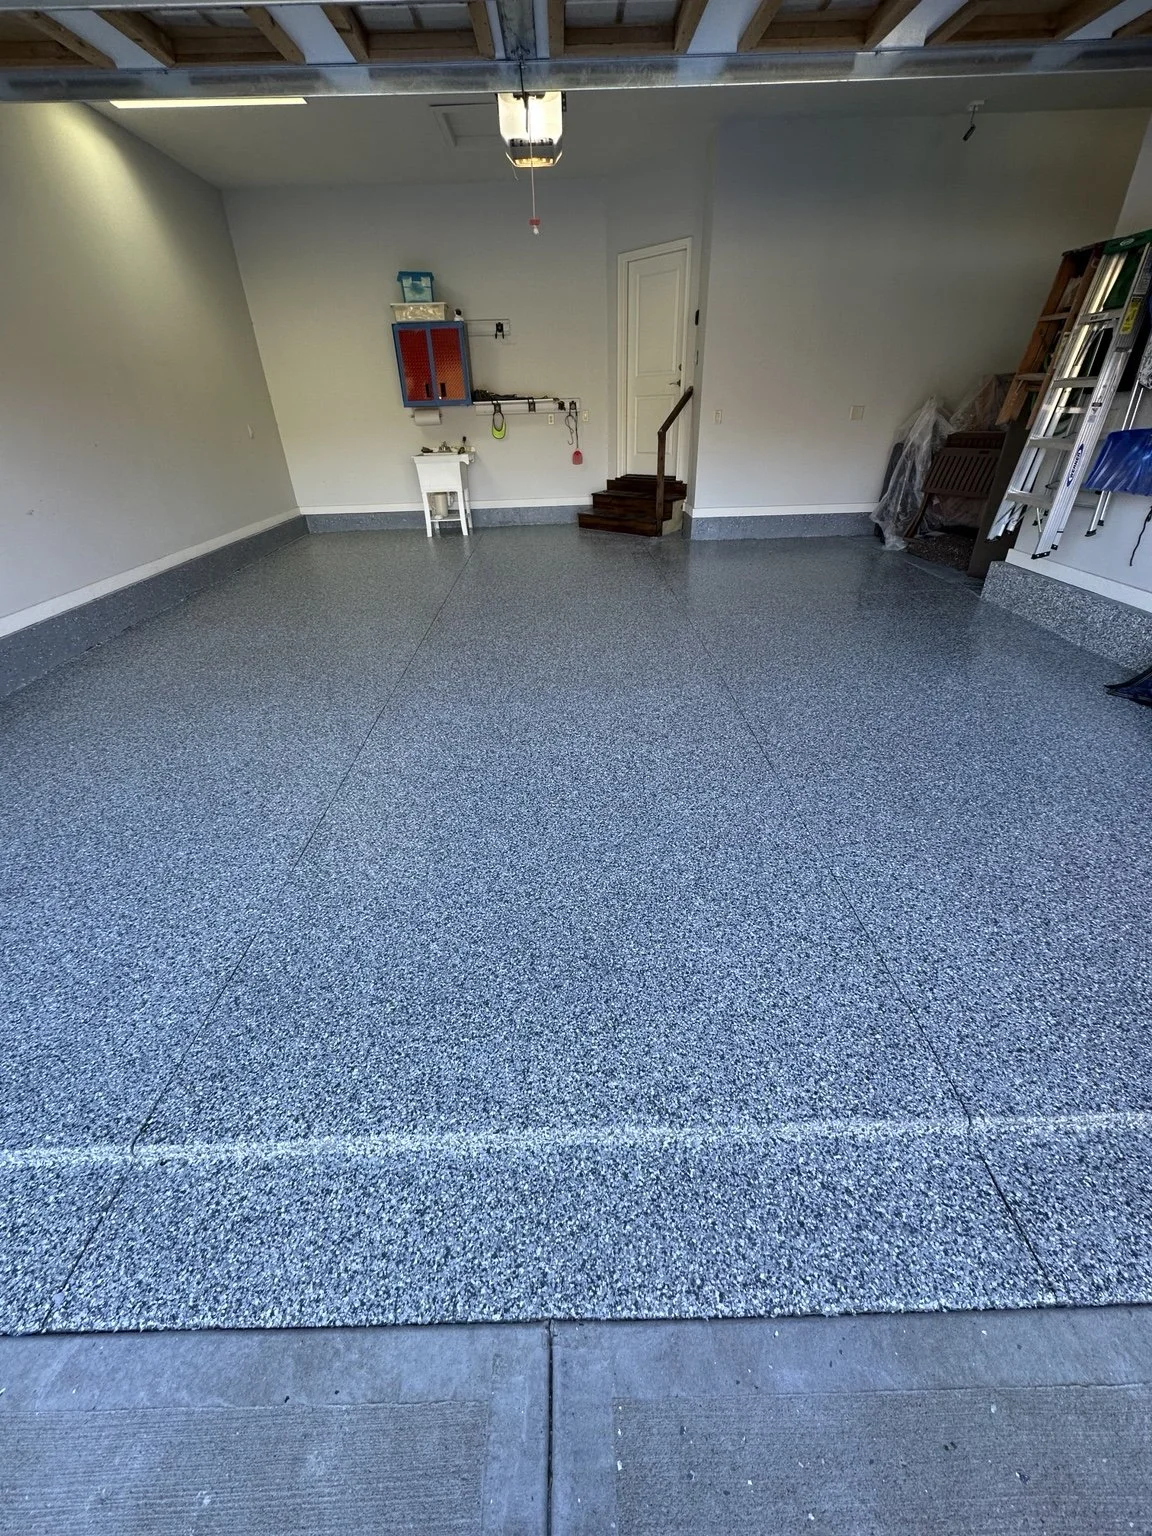
Liberty, MO
Finished around the details
The floor and concrete wall bases are coated beside the garage steps and utility sink.
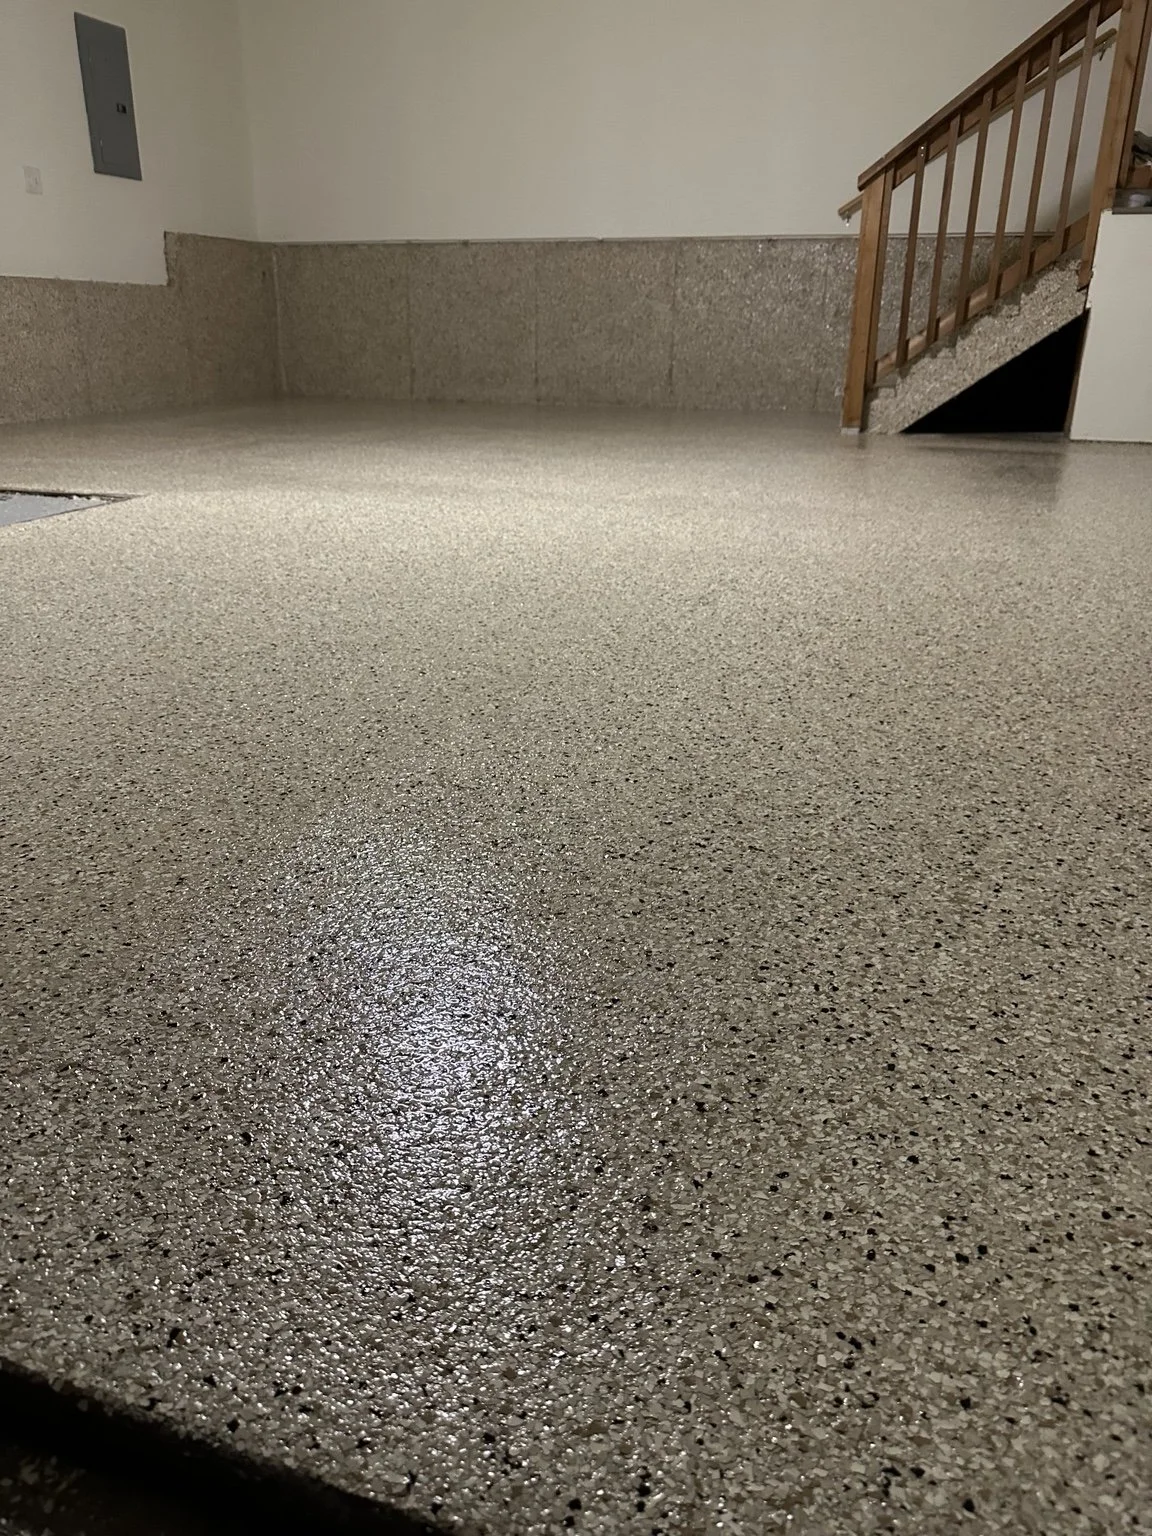
Leawood, KS
A closer look at the finish
Decorative-chip flooring and coated concrete wall bases beside the wooden stairs.
Plan your garage floor project
Before installation
Plan where vehicles, tools and stored items will go. Point out refrigerators, shelving and heavy equipment so moving responsibilities are clear. Tell us if the garage is your usual entrance to the house.
Confirm where the coating should stop at the garage door and whether steps or concrete sidewalls are included.
After installation
Follow the return times for walking, storage and vehicles before moving back in. Lift heavy items rather than dragging them, remove loose grit and clean spills promptly using the care instructions for your coating.
Keep those instructions with your written warranty so cleaning products and maintenance requirements are easy to check later.
Comparing quotes? See what a complete garage coating estimate should include.
Request a garage floor estimate
Use the form below to share your city, approximate garage size and what you want to improve. Mention peeling paint, an old coating, cracks or known moisture concerns.
Call 816-548-1111 or email floor photos to ask@fortressfloorskc.com .
Ready to talk about your floors?
Call for a free estimate or send us a few details below. We’ll get back to you within 24 hours.